DIY geoboard – Happy Days – Bucket Filled

Activities to have Fun,
Learn and Create

DIY geoboard

Geoboards are a fabulous learning tool. They are great for creating art, exploring shapes and developing visual skills. It’s a great way to practice fine motor development and engage with STEM learning all at once! You can buy them, but why when you can DIY!?

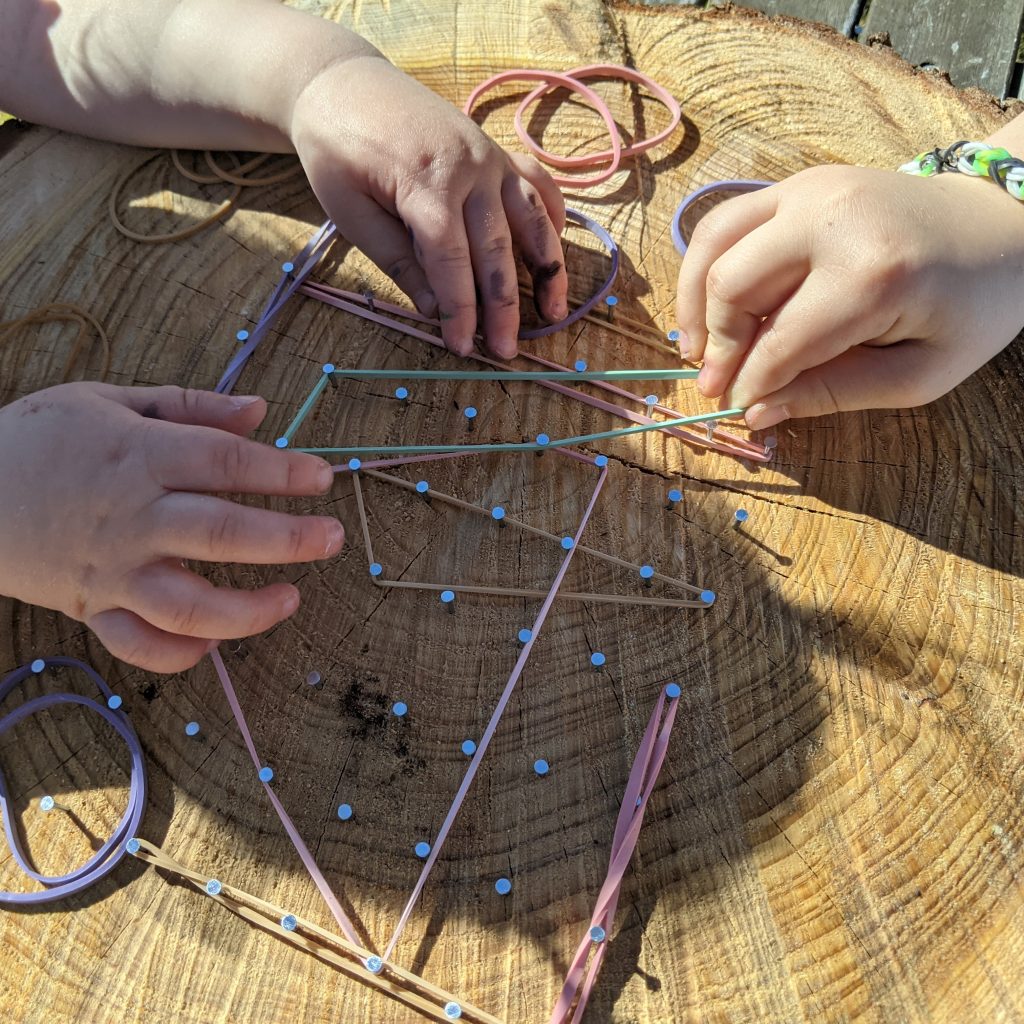
This example of a DIY geoboard was simple to make, minimal prep required and was made with things I found at home or around my neighbourhood. Totally adaptable, just think creatively or read ahead for more ideas.   
What you will need

Divider

Activity steps

Divider

Setup

  1. You will need to source a sturdy piece of wood that you can hammer into. I used a slither of a log because my neighbour had just cut down a tree and they were free game. But you can use an old chopping board, a plank of wood. It doesn’t really matter!
  2. Use your ruler and pencil to rule up an even grid on your piece of wood. I suggested about 1-2cm apart. I actually skipped this step but I would suggest ruling it up so that the shapes you will make later are in proportion. The size of your grid will depend on your wooden object.
  3. Using your hammer, put one nail on each spot of the grid. Try to make the length of the nails the same.
  4. Grab some elastic bands and away you go! Stretch them from one nail to the other and create shapes, patterns, pictures and designs. Let your imagination run wild.


Learning Opportunities

Divider
Reference sites

We would like to acknowledge these amazing sites that have inspired us to create this activity. Thank you!

Subscribe
Notify of
0 Comments
Inline Feedbacks
View all comments