DIY sensory bottles – Happy Days – Bucket Filled

Activities to have Fun,
Learn and Create

DIY sensory bottles

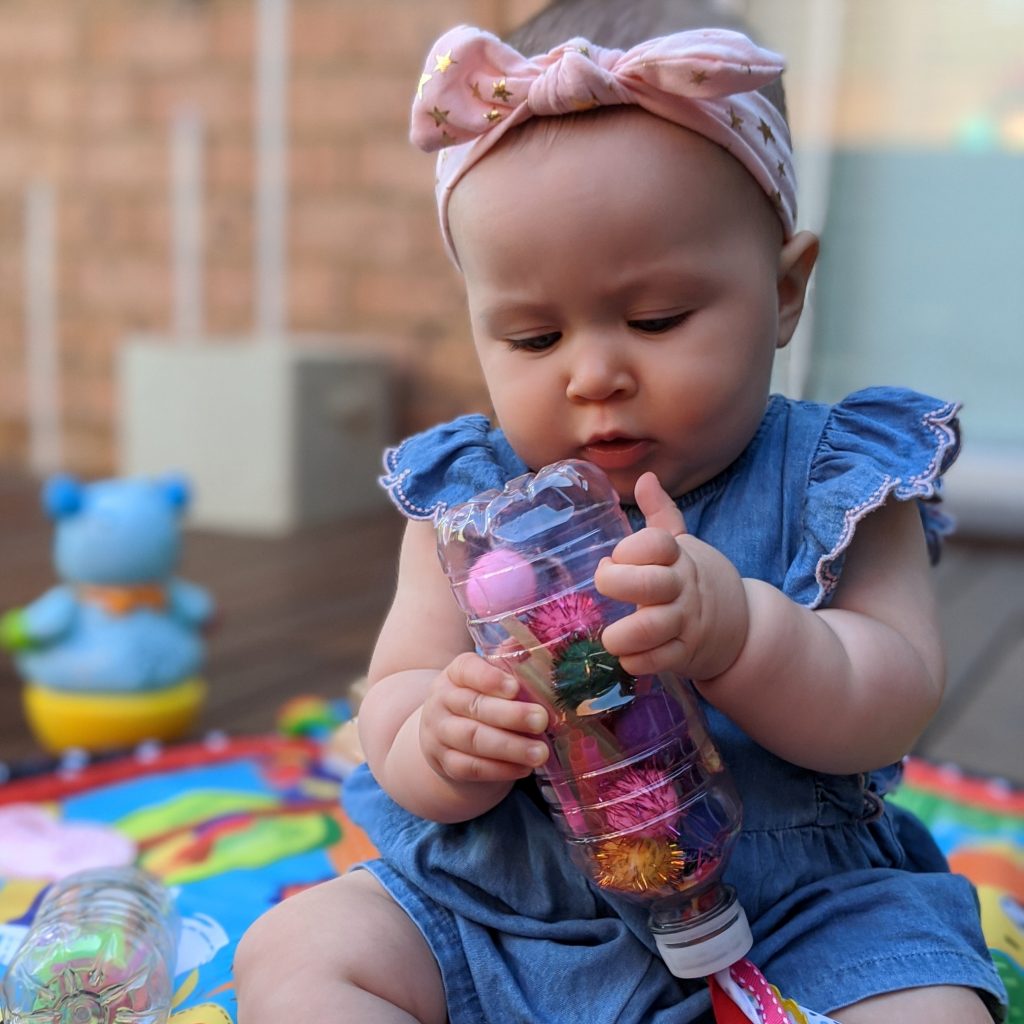
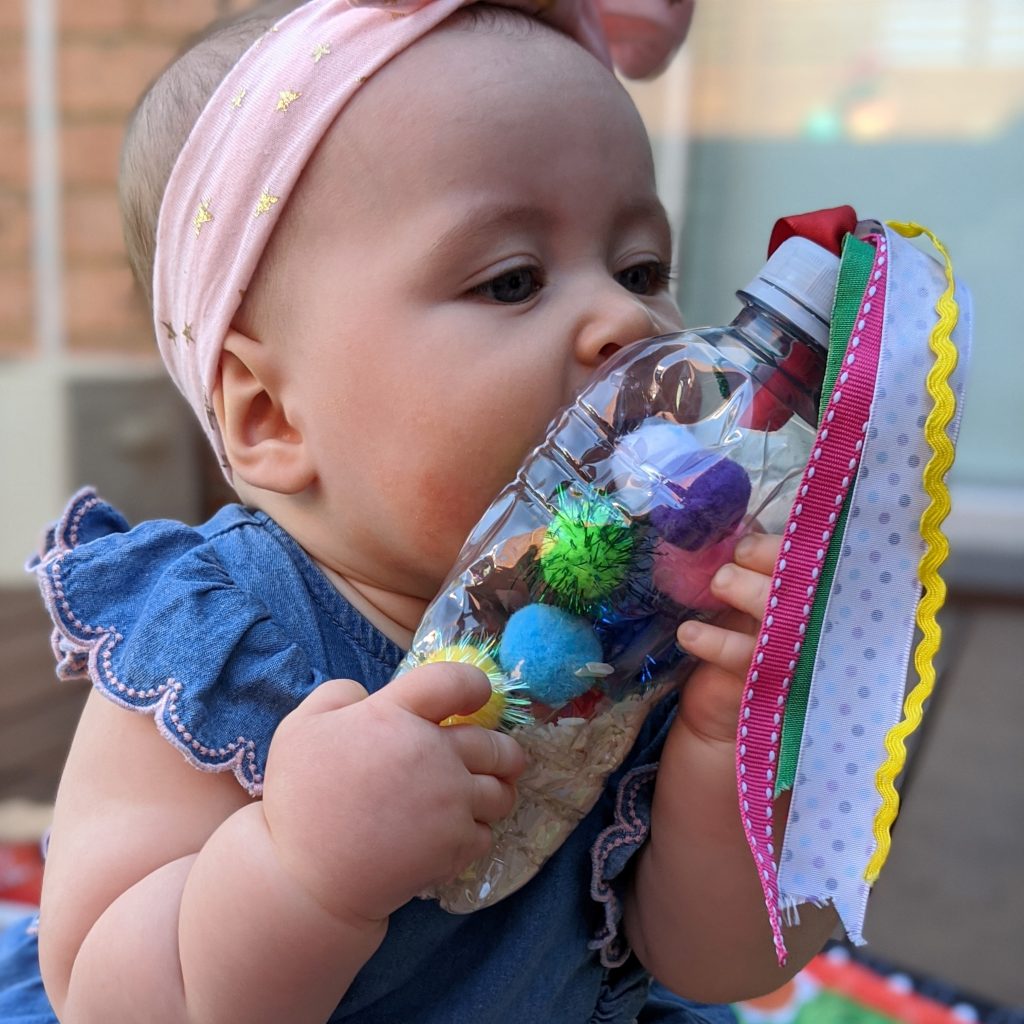
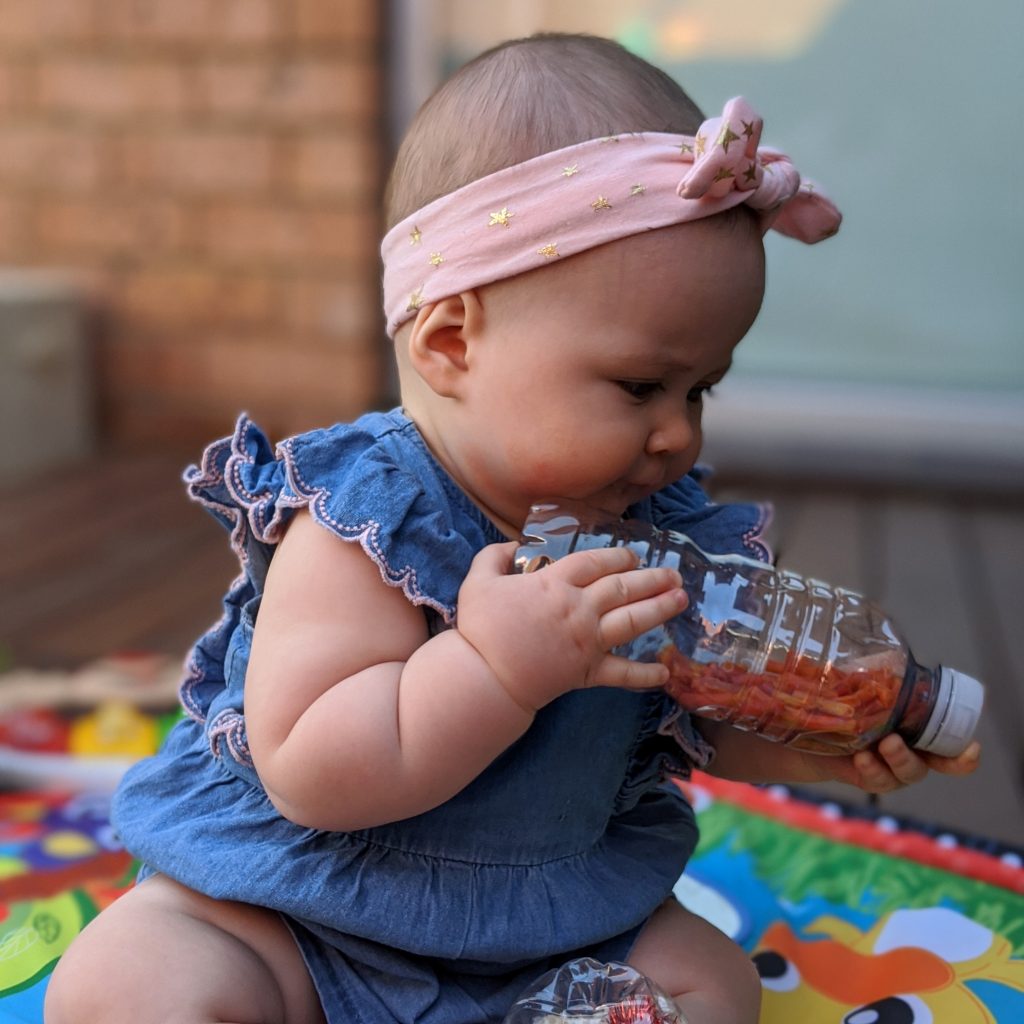
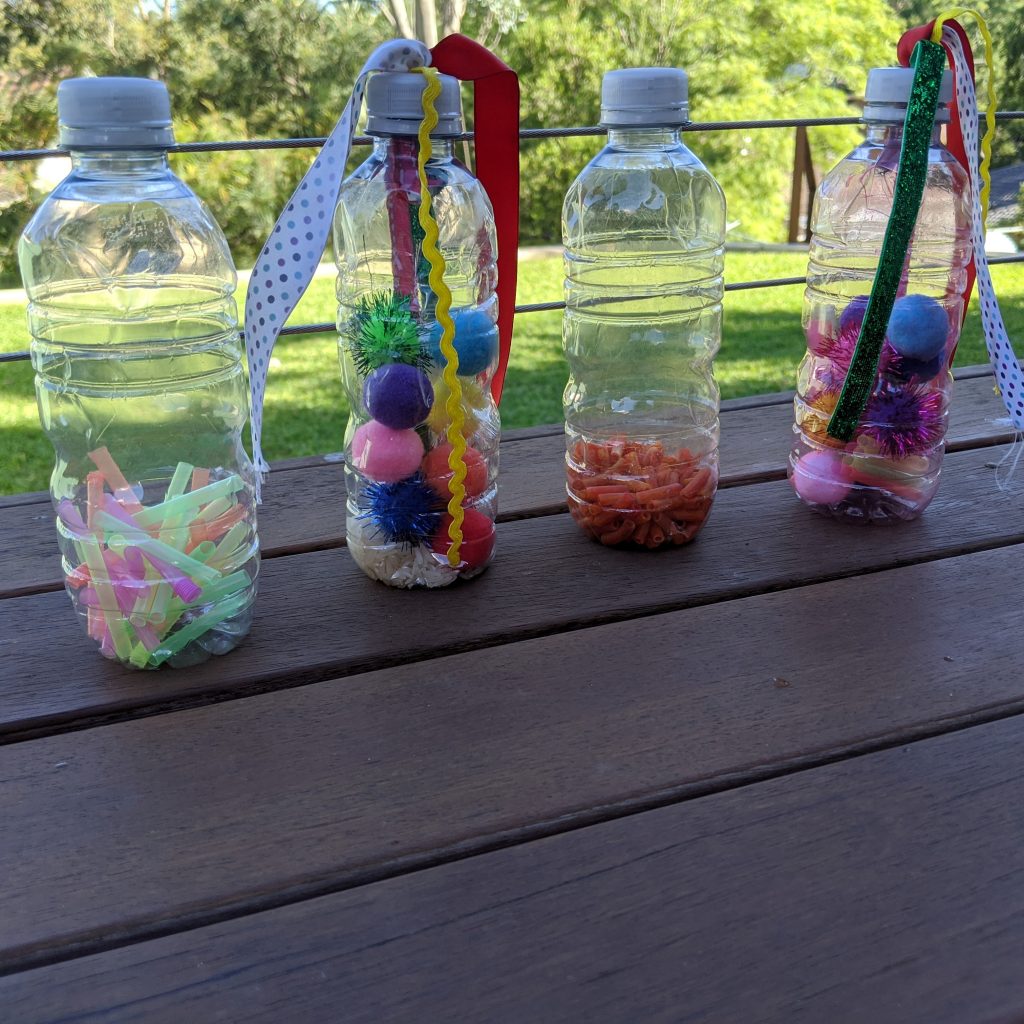
These DIY sensory bottles are inexpensive and so much fun to make. You can be as creative as you like and the possibilities for different textures and sounds are endless. They are visual appealing to infants and toddlers, are a great size to hold and manipulate and they provide great learning opportunities too. Make one, make more, this activity will be your new household favourite!

What you will need

Divider

Activity steps

Divider

Setup

  1. Empty the water from you bottles into a glass or jug and set aside.
  2. Remove the label from the bottle. Most labels are easy to remove, but if your having some trouble with stickiness “goo-gone” or something similar will help.
  3. Make sure your bottle is clean and dry before you start to fill the inside.
  4. Choose your loose part and place multiple inside your bottle. Put in as many, or as few as you like. I aim to fill from a quarter or half-way full only to allow space for the objects to move freely and create noise. I also like to pre-colour my loose parts just to add some attractiveness with some food-dye but this is optional.
  5. Firmly screw the lid back on the bottle and you are done! It is that easy!       
  6. If you want to add an extra textured dimension, I also like to pierce a hole in the bottle lid and thread some ribbon through the top, tying them off securely underneath and then attaching the lid firmly. The sky really is the limit-be creative!

Learning Outcomes

Divider
Reference sites

We would like to acknowledge these amazing sites that have inspired us to create this activity. Thank you!

Subscribe
Notify of
0 Comments
Inline Feedbacks
View all comments