Tape paintings – Happy Days – Bucket Filled

Activities to have Fun,
Learn and Create

Tape paintings

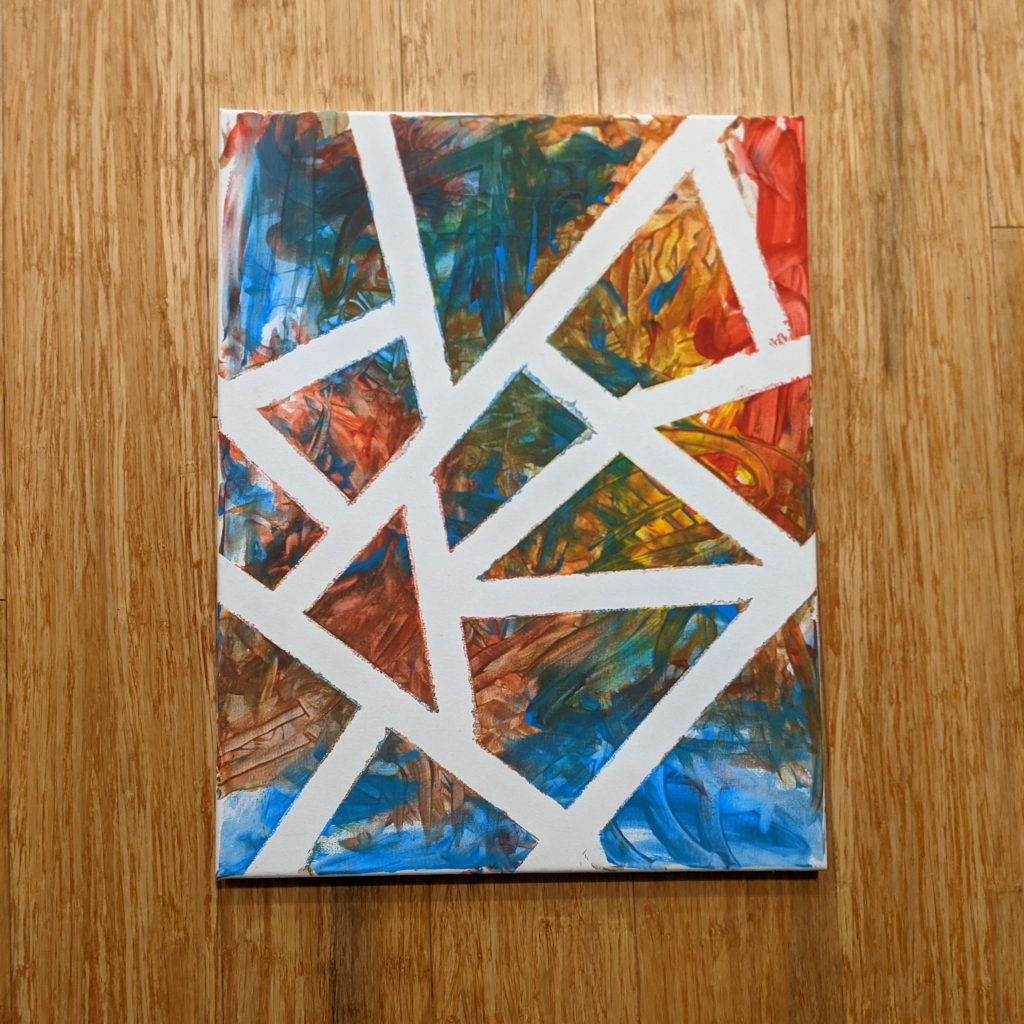
Painting is one of those art activities that children just love! Process over the end product is usually most desired at a young age and this activity is one that will foster that idea. Super easy and simple with a beautiful keepsake art piece created by yours truly. Use primary coloured paint to bring in aspects of colour mixing or choose your own colours, it really doesn’t matter. This is a completely unique art piece!
What you will need

Divider

Activity steps

Divider

Setup

  1. Take long strips of tape and place on your cardboard or canvas. You can add as many or as little strips of tape as you like. The sky is the limit! I tried to put mine on lots of different angles to create many shapes. Your children can help with this! Ask them where they would like to put their tape.
  2. Now give your child some paint. I have suggested red, blue and yellow so colour mixing concepts can come into play, however you can use whatever colours you like. You can use paintbrushes to paint the canvas or let the kids get messy and finger paint. Its really your choice with how messy you would like this activity to become. I do suggest being in a wet area or outdoors to cater for messy painting.
  3. Leave the canvas to dry overnight.
  4. Once the paint is dry, carefully peel back the tape. My little one enjoyed helping me with this process and what a great fine motor activity it was!
  5. There you have it, your very own abstract tape painting ready for display!

Learning Opportunities

Divider
Reference sites

We would like to acknowledge these amazing sites that have inspired us to create this activity. Thank you!

Subscribe
Notify of
0 Comments
Inline Feedbacks
View all comments